What To Expect During Garage Floor Coating Installation
If your garage floor is pitted, stained, dusty, or cracked, a garage floor coating installation can feel like the reset button. Garage Finisher makes the process simple: clear communication, clean prep, and a finished floor you’ll actually enjoy walking on.
Your First Step Is A Quick, Practical Walkthrough
Garage Finisher starts by looking at how you use the garage and what’s happening to the concrete, salt stains, cracks, peeling coatings, or moisture that keeps coming back, so your garage floor coating installation fits the way you actually live. This is where you’ll talk through color, texture, traction, and what “easy maintenance” really means for your household.
Garage Finisher also sets expectations upfront, because in Cleveland and across Ohio, the floor has to handle freeze-thaw cycles, road salt, and hot tires. When you know what’s normal during the process, the whole project feels a lot less disruptive.
What Happens First In A Garage Floor Coating Installation
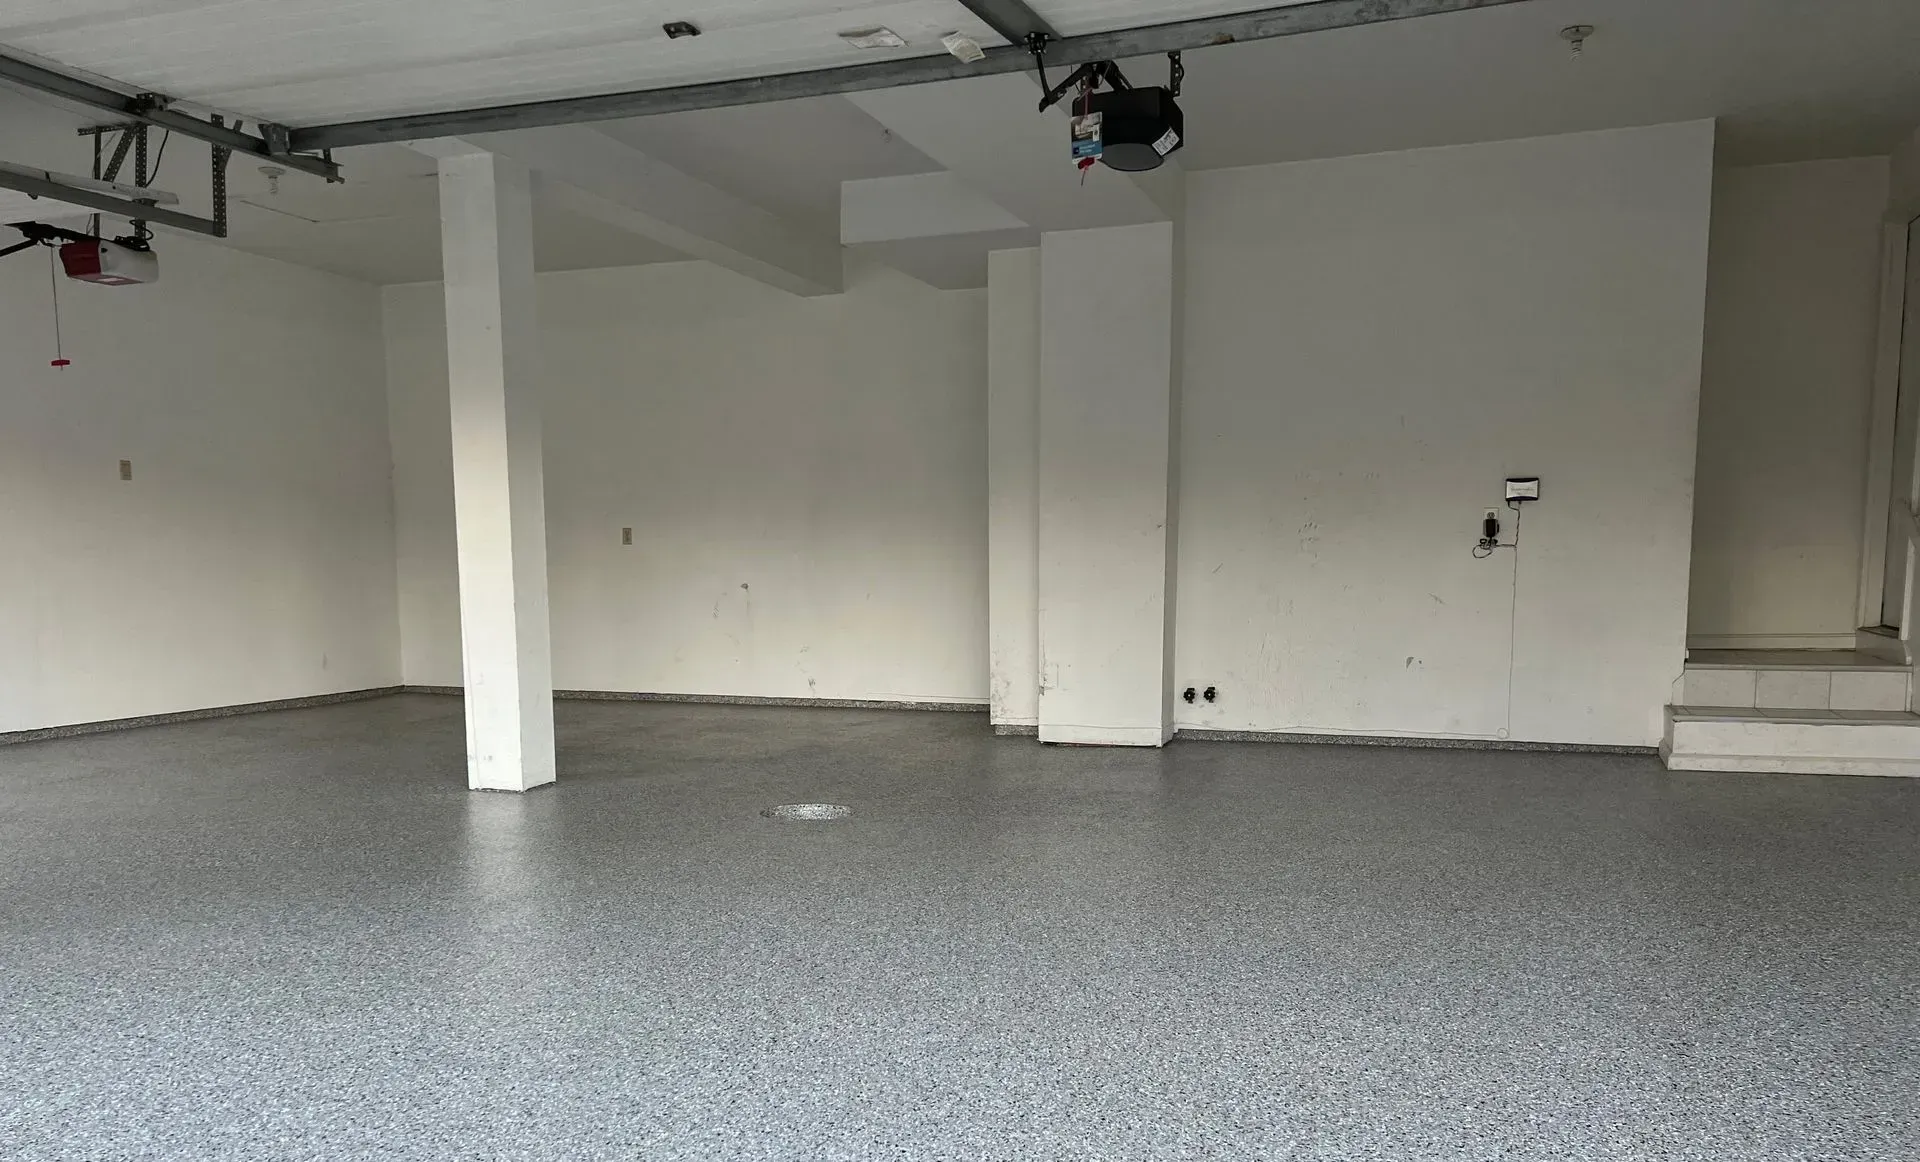
Garage Finisher begins with prep because coatings don’t bond to dust, oil, or weak concrete. The floor gets cleaned, then mechanically prepped so the coating can penetrate instead of sitting on top like paint, this is the step that makes a garage floor coating installation last.
Garage Finisher treats this step like the foundation of the entire job, since rushed prep is where most failures start. If you want the “why” in plain terms, the right concrete surface profile for strong coating adhesion explains what quality prep is really doing beneath the finish.
Dust Control And Safety Aren’t “Optional”, They’re Part Of Doing It Right
Garage Finisher uses professional equipment to manage dust during grinding and surface prep, because concrete work can kick up fine particles you don’t want floating through the house during a garage floor coating installation. Good crews contain the workspace, protect nearby areas, and keep the job site clean as they go.
Garage Finisher also stays mindful of safety realities tied to concrete prep, especially during grinding. It’s worth reviewing how silica dust can be created during concrete work and why controlling it matters before any project starts.
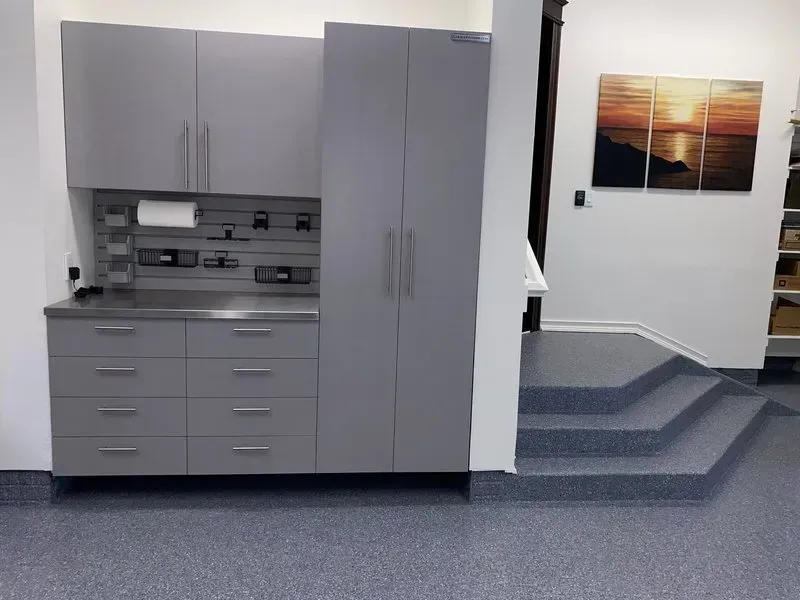
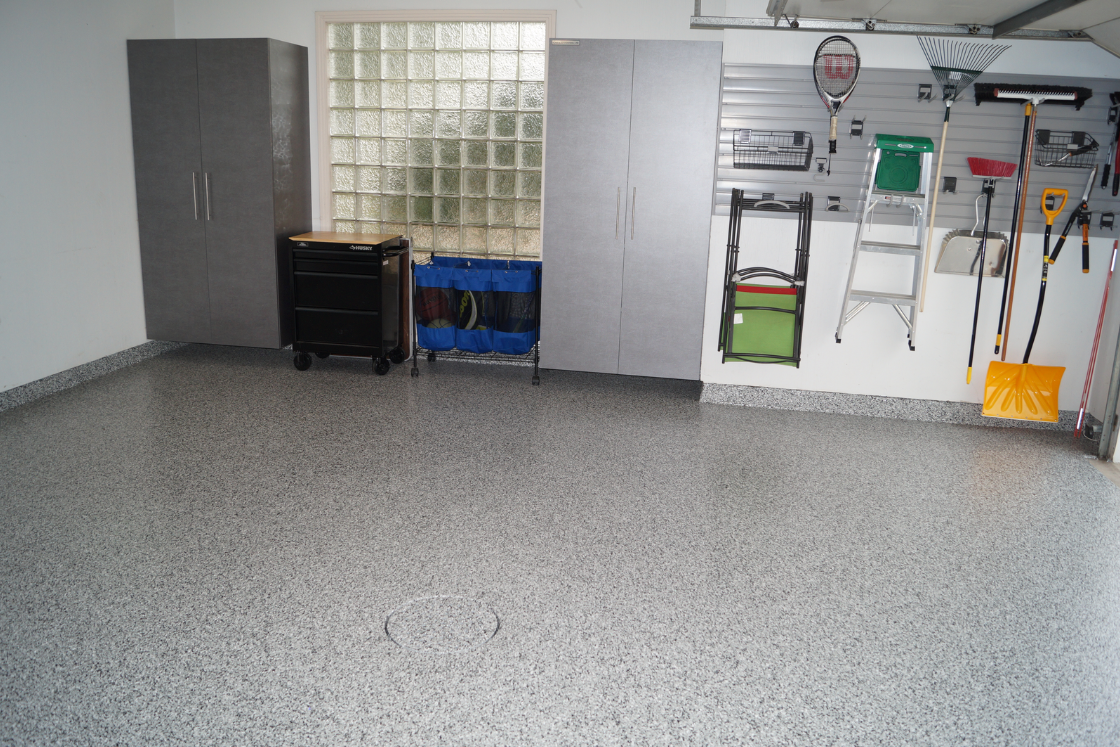
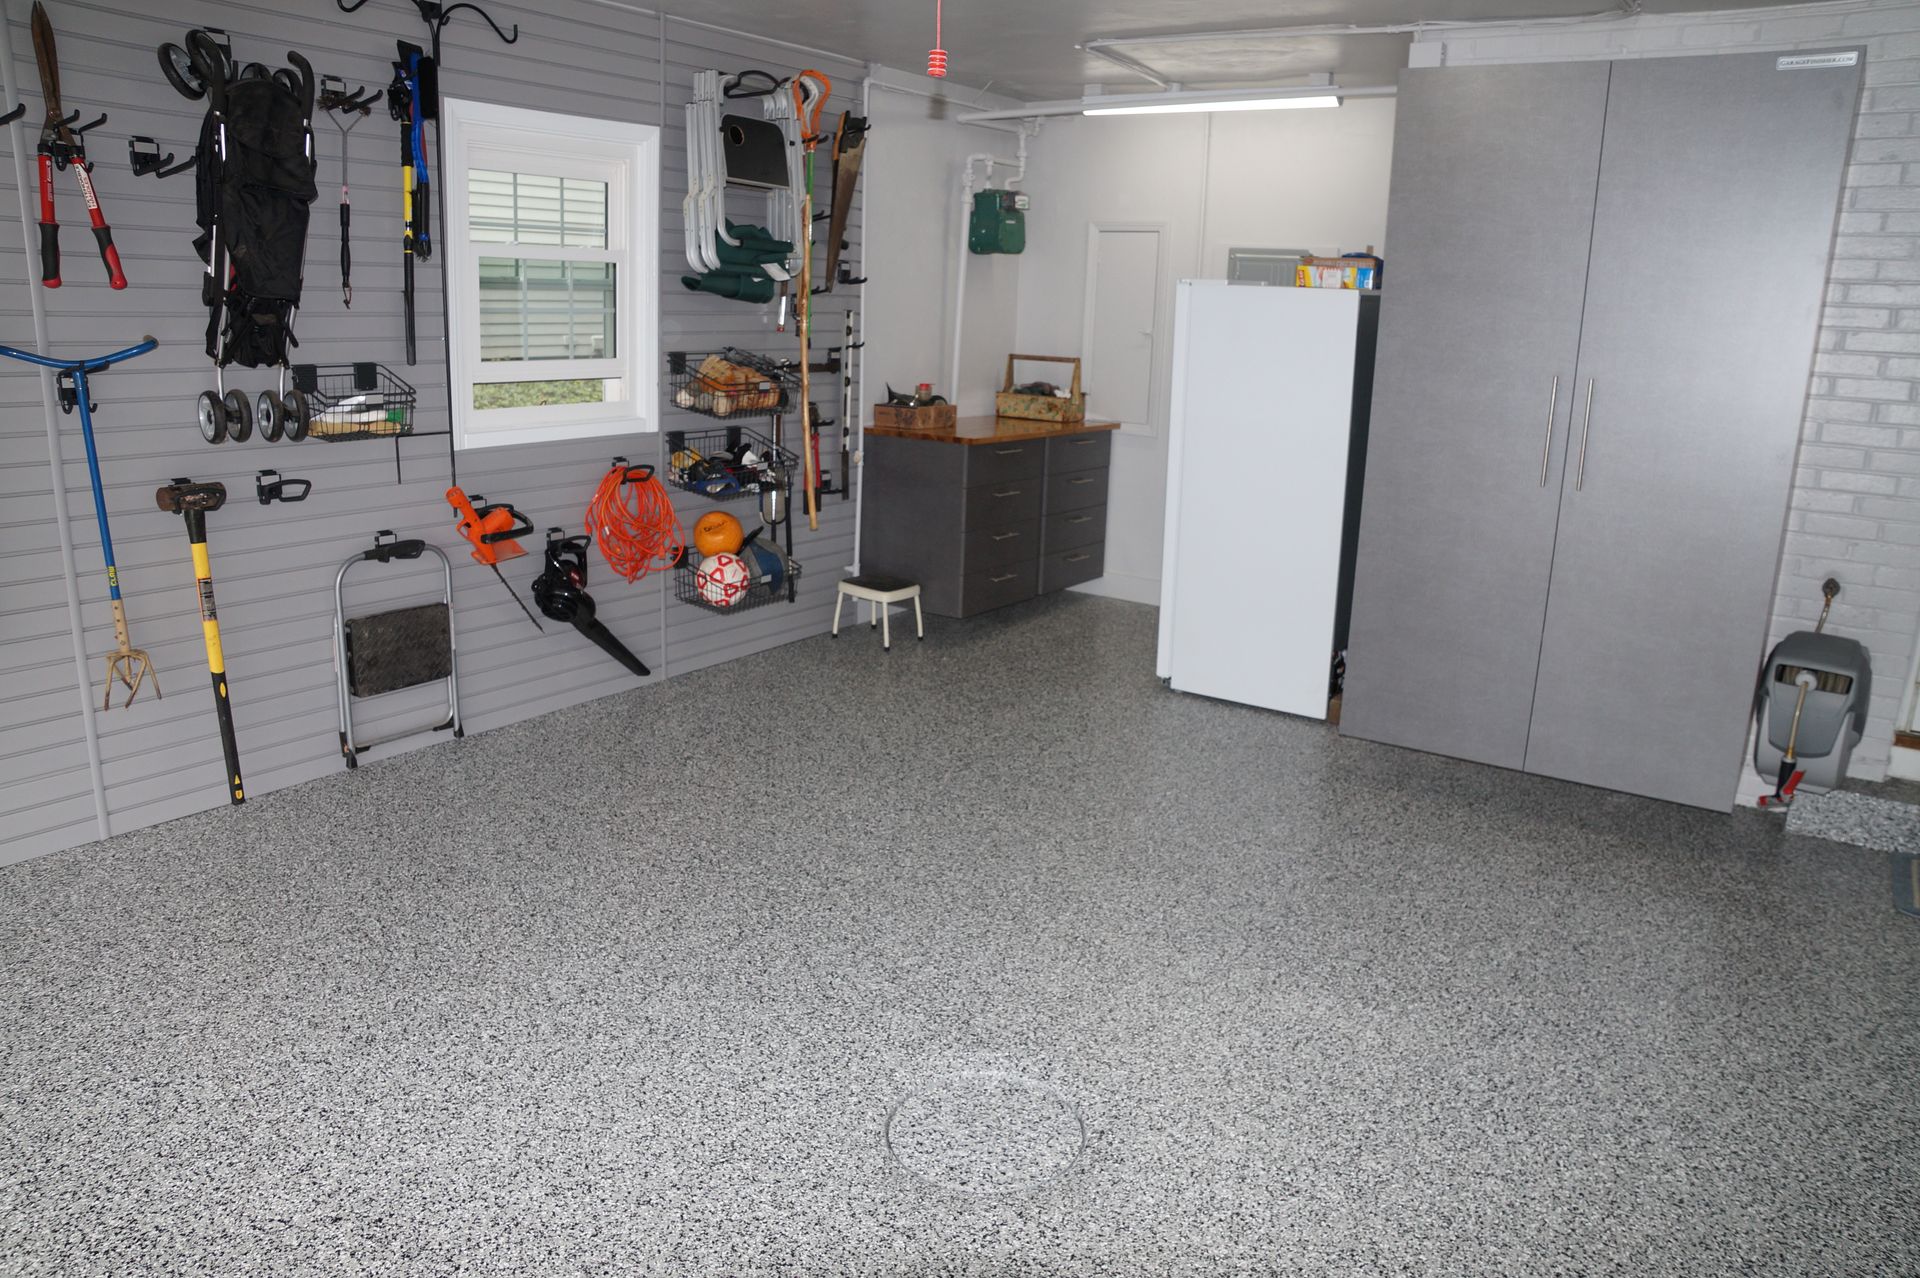
Repairs And Detail Work Are What Make The Floor Look “Finished”
Garage Finisher handles cracks, pitting, and rough spots before any coating goes down, because those flaws don’t magically disappear under a glossy finish. This is also where edges, corners, and control joints get the attention that separates a quick job from a clean-looking garage floor coating installation.
The goal is a smooth, uniform surface that looks intentional, not like a cover-up.
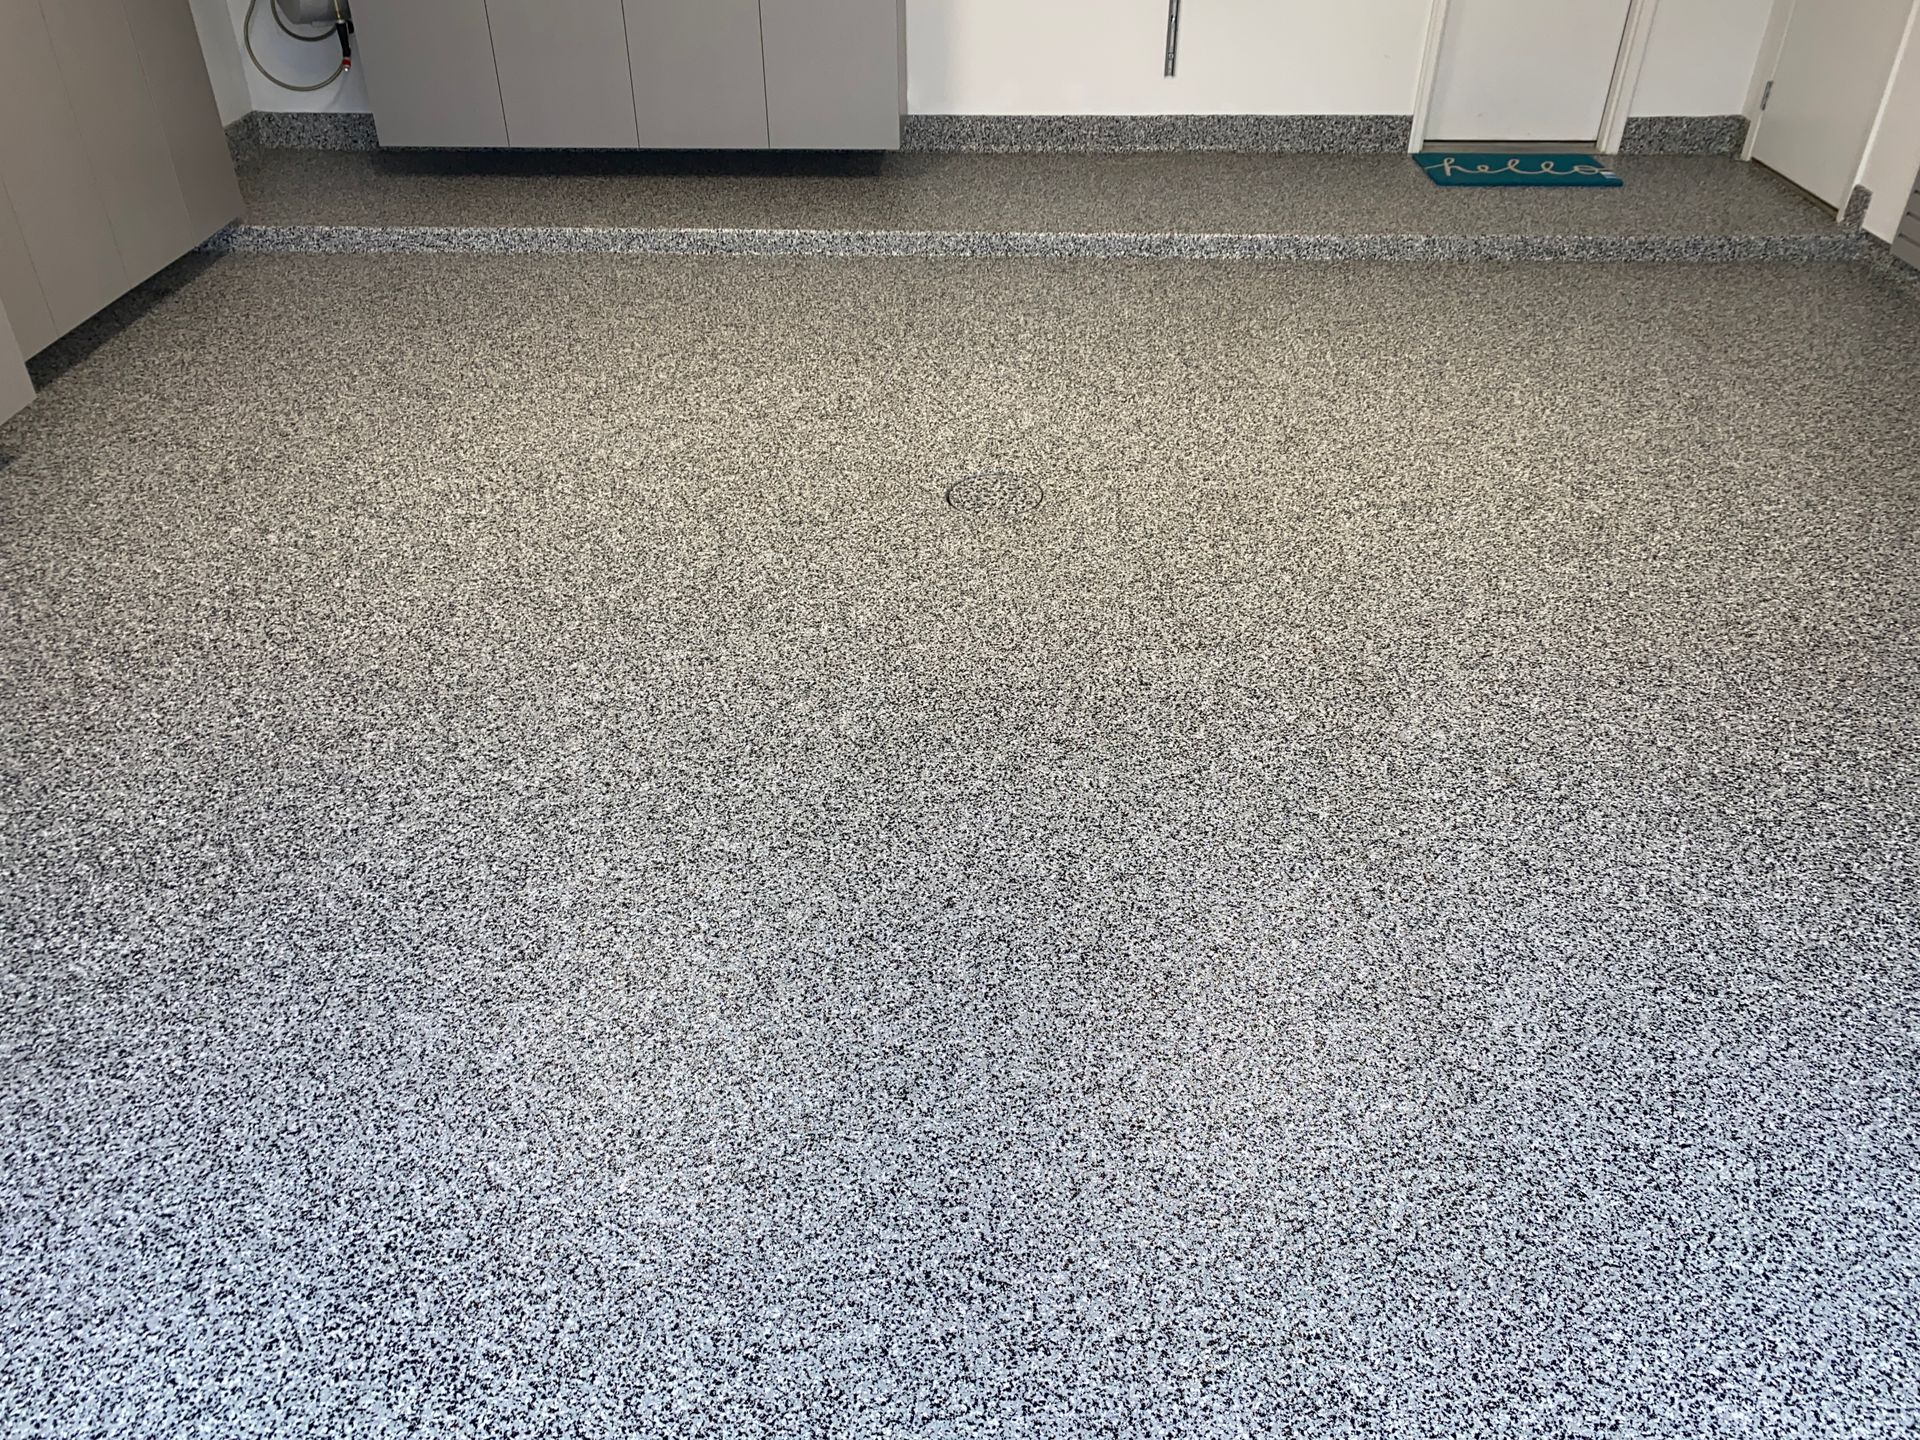
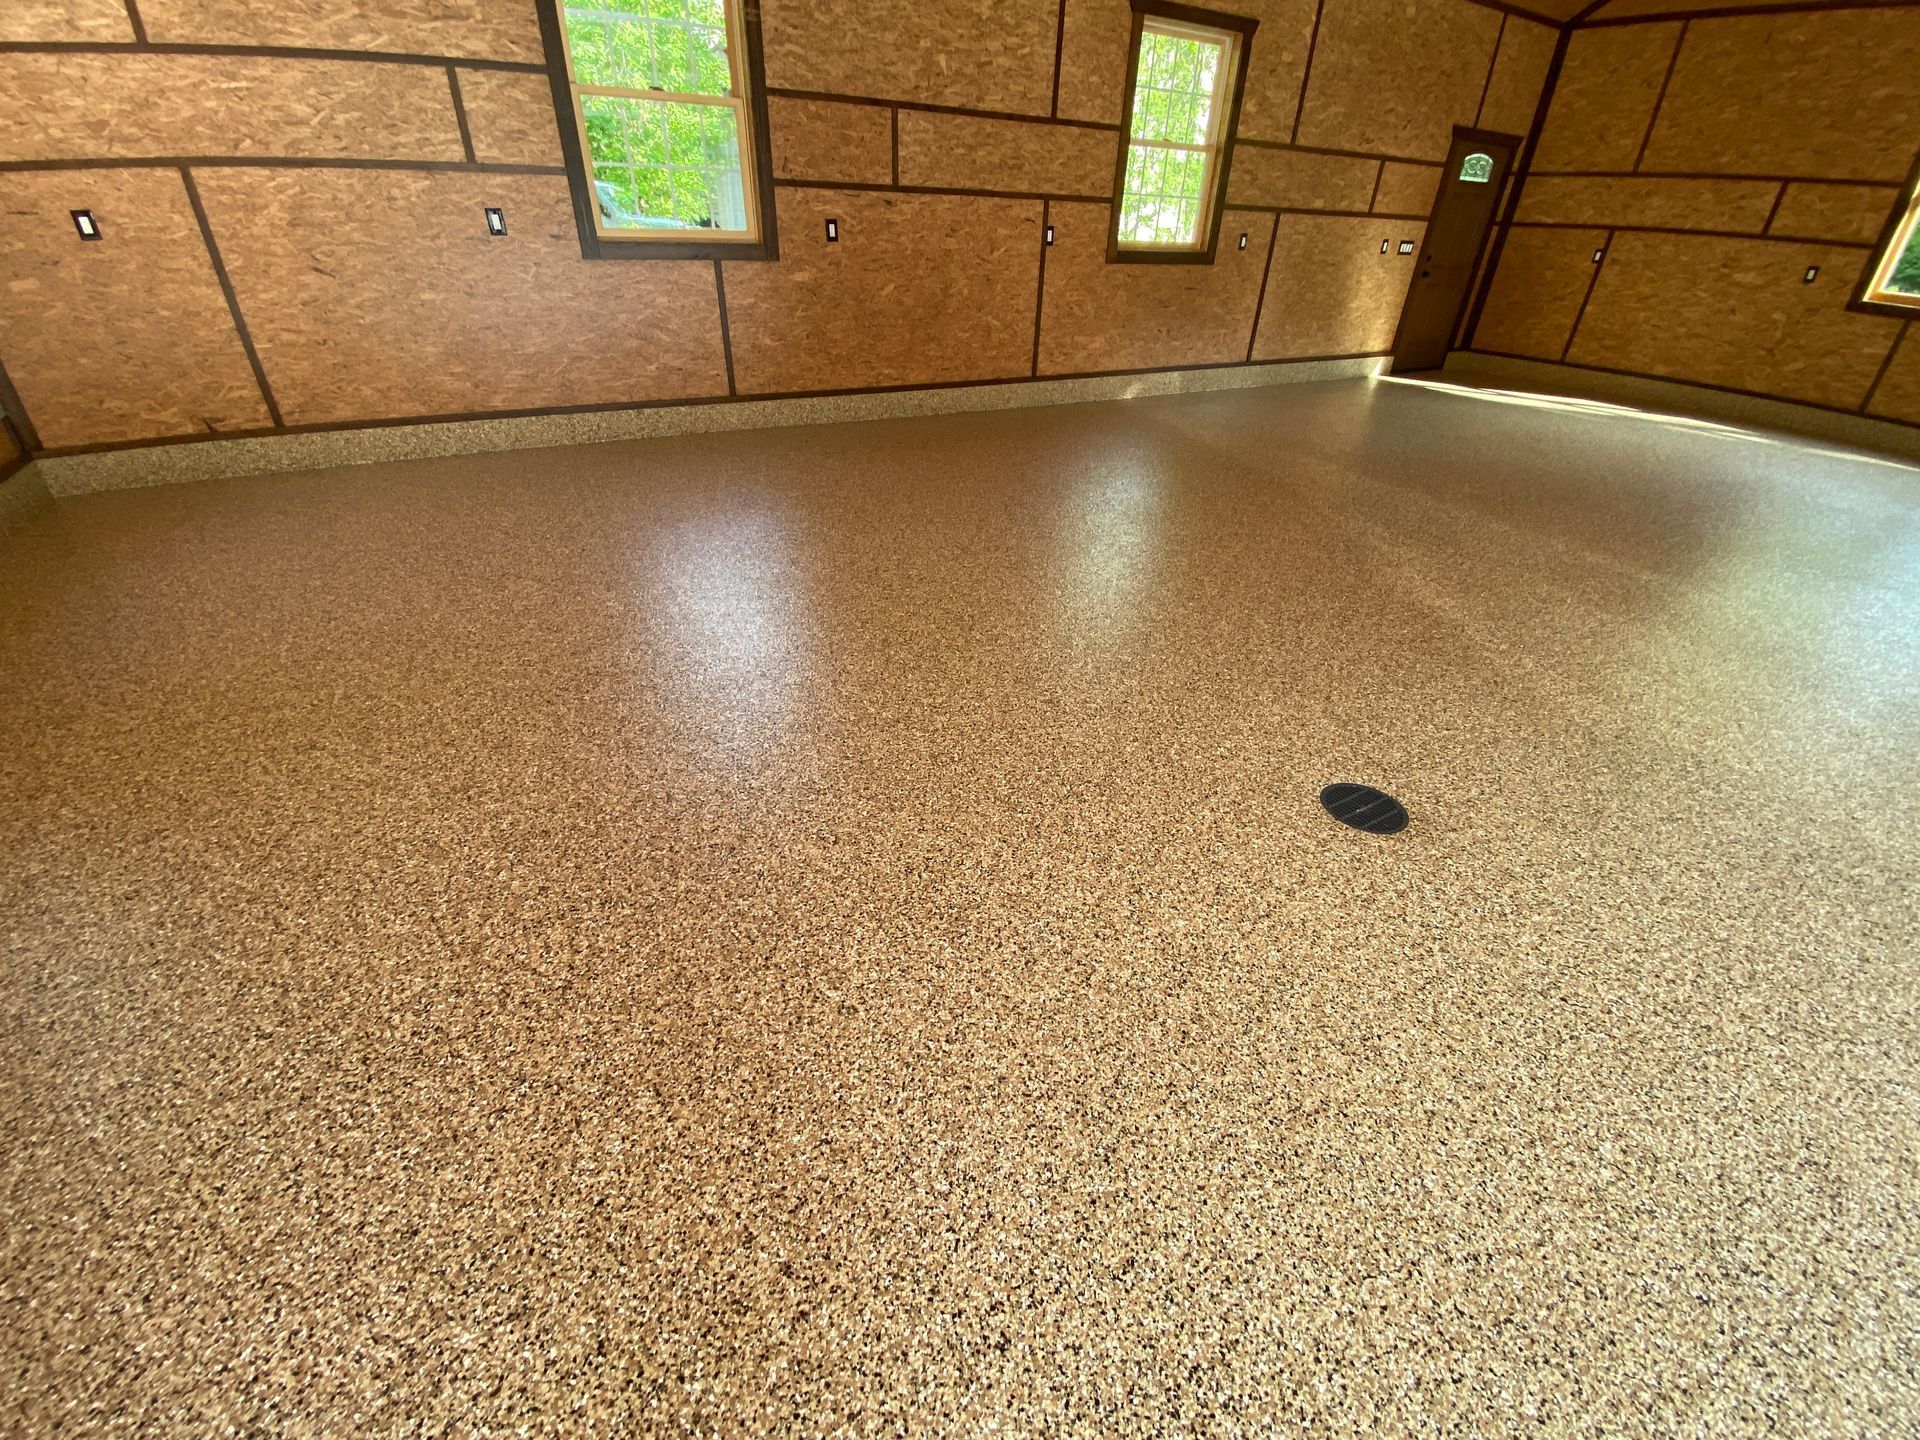
Coating Day Is A Process, Not A Single Coat
Garage Finisher applies the system in stages so each layer has a job, penetrating, building strength, adding design, and sealing everything in. When the coating is built in the system instead of a one-and-done layer, it holds up better to salt, moisture, and daily traffic.
Garage Finisher’s Forever Floor approach is designed for real garages, not showroom floors. If you’re scheduling around work, kids, or parking, this is the point where Garage Finisher can tell you when you can walk on it, when you can move items back, and when it’s ready for vehicles.
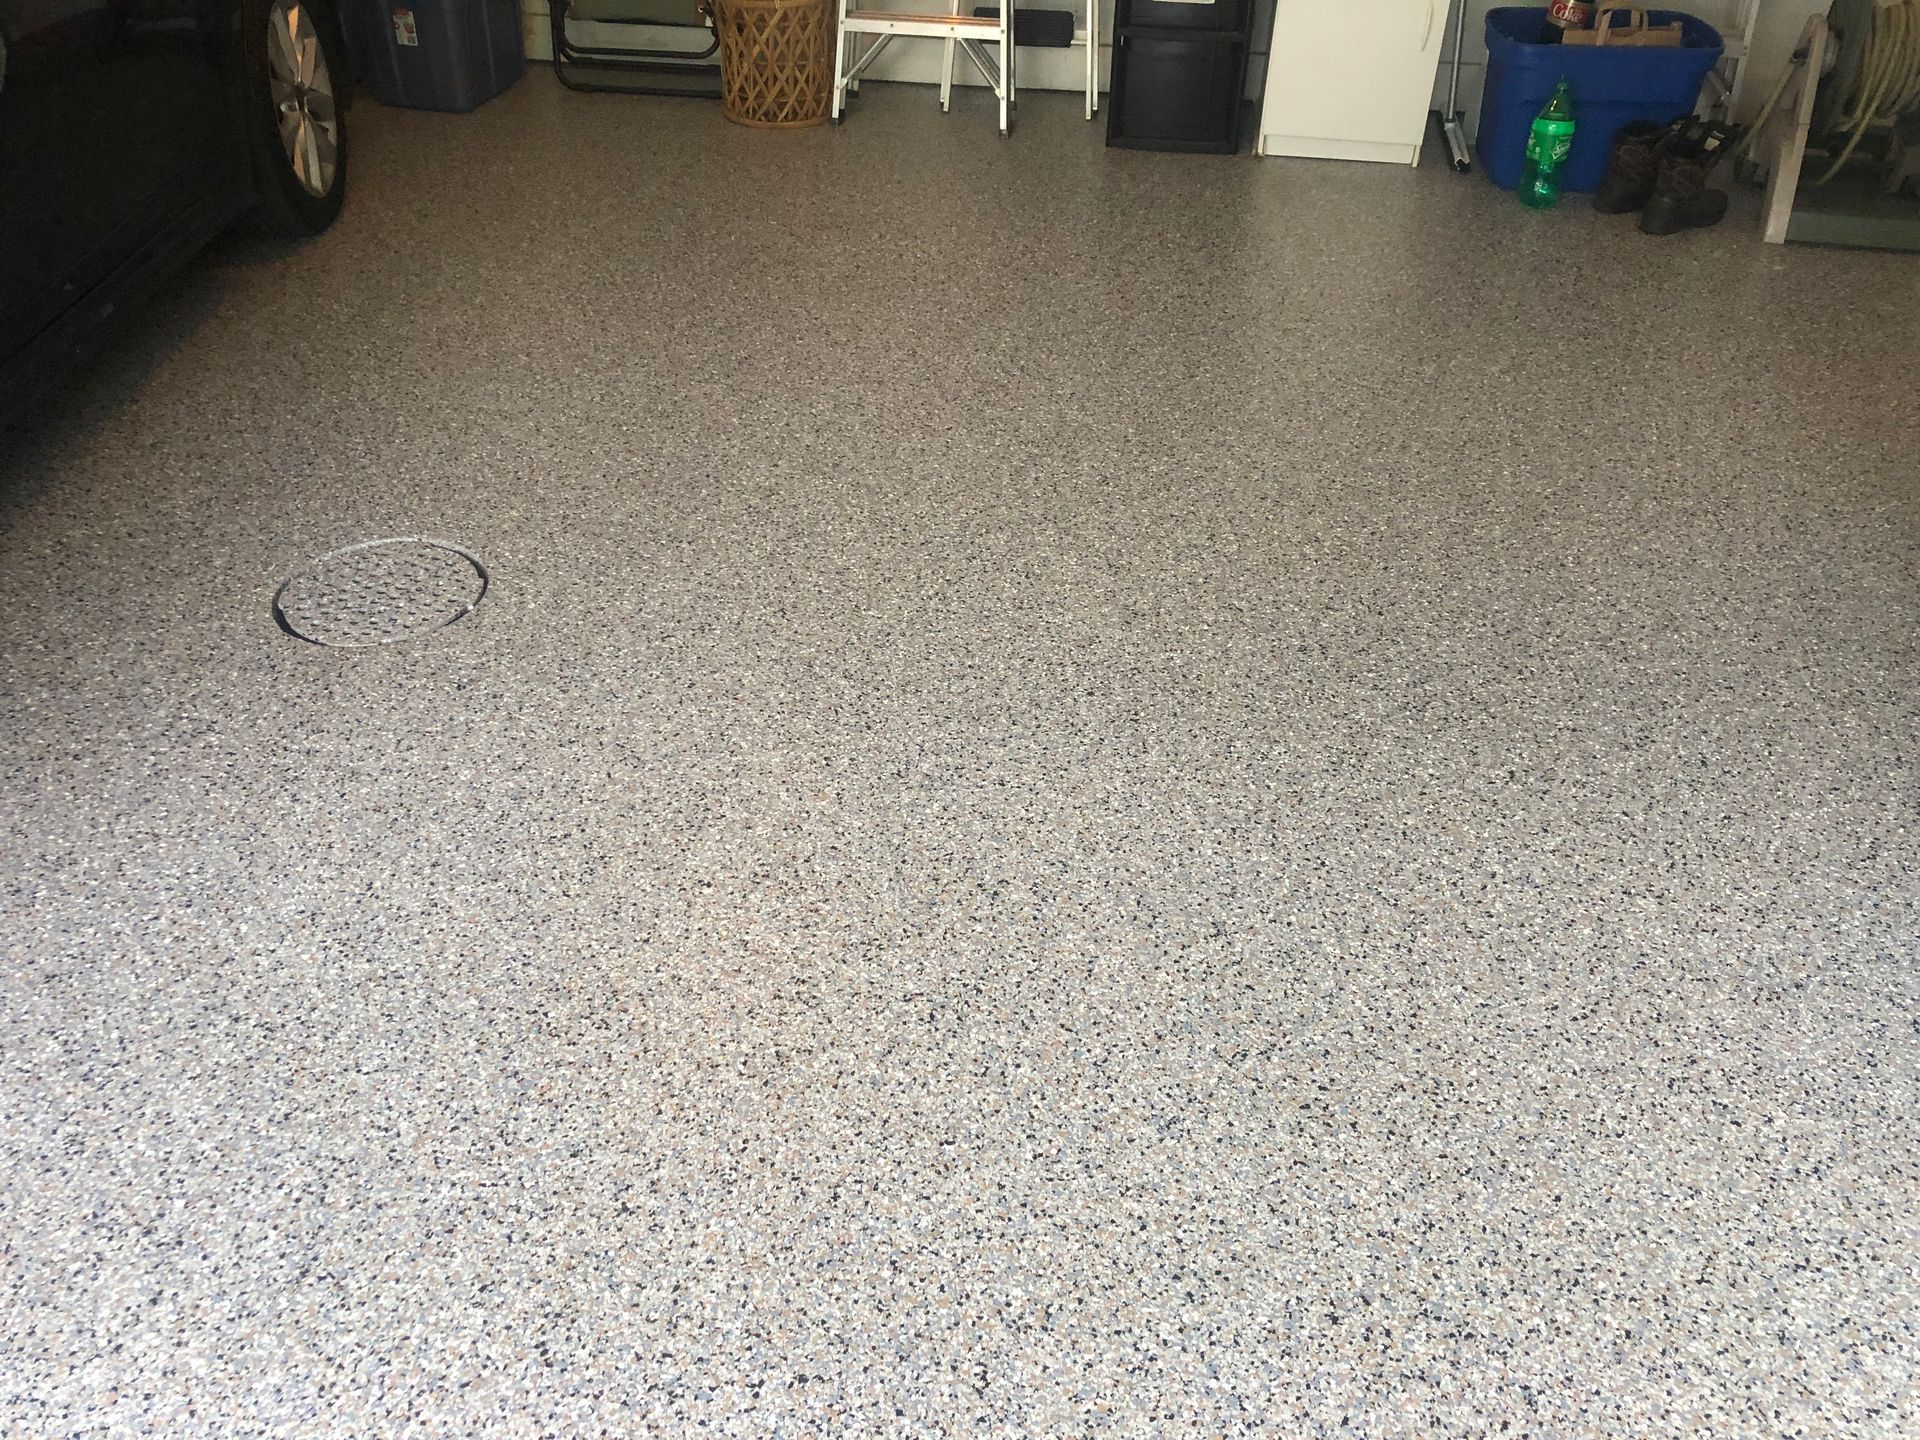
Cure Time And The “First Week” Rules That Protect Your New Floor
Garage Finisher will give you simple do’s and don’ts for the first few days and how to easily clean your new floor forever. The biggest thing is planning your parking and heavy moving so the floor has the best chance to lock in that smooth, sealed surface.
If you’re thinking about a garage floor coating installation and want a clear plan for timing, prep, and what your garage will look like at each stage, Garage Finisher can walk you through it before the first tool comes out. If you have additional questions you’d like to ask our team about garage floor coating installation, contact Garage Finisher, to transform your garage by the time the next Ohio winter shows up.